Beach Metal Detector 2023
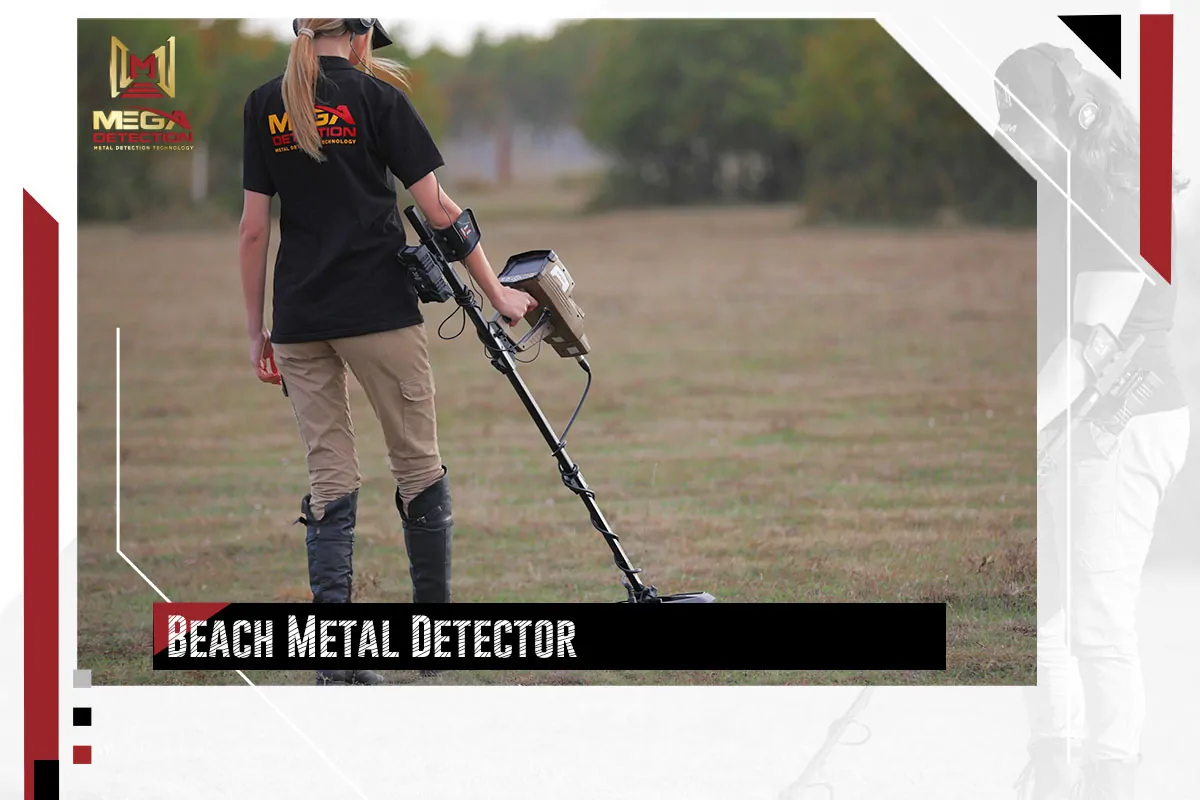
Beach Metal Detector
Once you have found the right detector, you’ll want to try it out. But before you can start finding valuable items, there are a few things that you need to do. Let’s look at some of these things.
Get the Right Gear
The first thing that you need to do is get the right accessories. There are a few important items that you will require.
First, it’s important to make sure that you have a pair of gloves. Some pieces of trash, like cans, might have sharp edges. You don’t want to accidentally cut your hands. Some people will also need goggles, to allow them to see underwater.
You’ll also need to get some waterproof headphones. These allow you to hear when you get a hit. Sometimes, these will come with your metal detector. If they don’t, you’ll need to buy them separately. If your detector is equipped with Bluetooth, it can be good to get wireless headphones. This ensures that you don’t need to worry about getting tangled up with cords when you are underwater.
Once you have a hit, you’ll need a shovel. When you are diving, it’s best to get one that will be lightweight. You don’t want it to be weighing you down. Some metal detectors might come with a shovel included. Make sure that this is made from plastic. You don’t want to be getting any false hits from a metal one.
If you are planning on detecting on the beach, you might want to use a sand scoop. This will allow you to shift through the sand to find the item that you are looking for.
Finally, you’ll need to get a utility belt. This will allow you to take everything you need for the search with you. A good utility belt can save you a lot of time, as you won’t need to continuously swim to the boat to get supplies. When choosing this belt, you need to pick one that won’t be made from metal. This ensures that you don’t get any false signals.
Find the Right Setting For the Best Metal Detector
After you have gathered all your supplies, it’s almost time to get started. But first, you’ll need to make sure that you have set your device up properly. How you do this will depend on what you are looking for. For example, some detectors will allow you to exclude any ferrous metals, which stops you from picking up on iron. To know the best setting to use, it’s best to use the instruction manual that accompanied the detector. Often, you will need to make a few fine-tune adjustments throughout the day.
Usually, it will take a while for you to get used to your detector. Because of this, it’s a good idea to dig every target at first. That way, you’ll soon know which ones are lucrative and which ones you can filter out.
Search Systematically
As you are searching in a new area, it’s essential to be systematic. Use a grid pattern. Make sure that each sweep overlaps slightly. This ensures that you don’t miss anything.
At the end of each hunt, you should keep a journal. You can then write down what you found and where. This can help you find more lucrative areas to search in the future.
Have Patience
Finally, the most important tool that any metal detector has at their proposal is a good attitude. It might be a while before you get a target. Even when you are getting hits, there is no guarantee that they will yield results. But, as long as you stick it out, you’ll eventually be rewarded with a valuable hit. Remember, you never know whether the next target will be a valuable coin or a gold nugget until you dig it up.
When To Go Beach Metal Detecting
When detecting the dry sand such as towel lines and high activity spots there are two really good times to detect.
If you are an early riser then get to the beach first thing in the morning before it gets too busy and detect where people would have been the day before.
If you prefer to start your day later then get there at the end of the beach day when people are leaving and the beach is less populated. That way you will be one of the first to detect right after the crowds are gone and you won’t be detecting around people.
Beach metal detector the low tide will depend on your local tidal patterns so it is always good to check the internet for low tide times in your area. Once you know this, try and get there 30 minutes before low tide so you can set up and be fully ready for some beach metal detecting.
After storms is another excellent time to detect the beach, because storms will churn up and move sand around which can bring targets up from the deep into shallower parts of the beach.
Detect after a king tide as this can yield similar results as detecting after a storm. As the sand is moved around, it can often bring up long lost targets.
The Gridding Technique
This is a technique used by beach detectorists the world over. It is a tried and proven method that will mean you don’t leave any gaps in coverage, ensuring you will yield more targets and not leave any treasure behind.
To do it properly, walk in a straight line in one direction. At the end of your section, turn around, move just under a full swing right or left, and walk back in the opposite direction. Make sure to overlap your swing with the last run to ensure you don’t have any gaps which may lead to missing a great find.
Once you have covered your section in both directions, go over it again at a perpendicular angle (90 degrees) to make sure you haven’t left anything behind. Once you have completed a section, move on to another part of the beach to grid another section.
To ensure you are detecting in a nice straight line, if your detecting scoop has a long handle then drag it behind you so you can see where you have been. If you are using a hand scoop, you can tie a cord around your waist and pull a heavy object like a large fishing sinker so you can see the trail of where you have been.
Dry Sand vs Wet Sand
When metal detecting on a beach it is important to know that a detector will react differently to dry sand compared to wet sand.
Dry sand detecting is a lot of fun and can be done with pretty much any metal detector. Dry sand areas often mean there is a large amount of traffic so be prepared to dig your fair share of trash to get to the good targets.
Digging trash isn’t as bad as it sounds as it helps to really get to know your detector, target IDs and the sounds it makes on different targets.
Using a metal detector that has discrimination or notching modes can help you dig less trash by “discriminating” out unwanted targets. This basically entails you telling the detector what type of metal you want to ignore.
Using discrimination takes practice and if you are not careful you run the risk of ignoring a good target if it is made from a similar metal as the unwanted target. Because of this we recommend digging every signal until you really have a good feel for your detector.
Wet sand detecting can be more of a challenge but can yield excellent results and much less trash. Wet sand can be difficult for most detectors due to salt and minerals, which can cause either false signals or a very chatty detector, neither of which are fun.
So it’s good to note that not all detectors can handle wet sand and salt water. When choosing a detector for wet sand you need to choose either a continuous multi frequency detector or a detector that you can ground balance to salt water and have adjustable sensitivity to help cut out unwanted chatter and false signals.
Final Thoughts
Underwater metal detecting can be a great hobby. You’ll be able to combine scuba diving and snorkeling with a passion for hunting for valuable items. The good news is that you don’t need any special skills or training to get started. All you need is the right metal detector and diving gear. Hopefully, you now know everything you need to start diving for treasure today.





Leave a Reply